

How to Organize Kids Crafts: Say Goodbye to the Mess and Chaos
Are you tired of tripping over piles of glitter and glue sticks every time you walk into your child’s playroom? Keeping kids crafts organized can be a daunting task, but with a bit of planning, you can turn chaos into creativity!
Firstly, designate a space specifically for crafting. This could be a desk, table, or even a corner of the room. Make sure it’s a well-lit and easily accessible area that’s only used for art projects.
Next, sort through all your child’s craft supplies and get rid of anything that’s broken or expired. Create categories for the remaining materials, such as paints, papers, and beads, and invest in containers that can hold each group of items.
Finally, label all the containers clearly using color-coded or picture labels so that your child can easily find everything they need for their next project. With these simple steps, you and your child can enjoy a crafting space that’s organized and inspiring!
 Essential Supplies for Organizing Kids Crafts
 Essential Supplies for Organizing Kids Crafts
When it comes to organizing kids’ crafts, having the right supplies on hand can make all the difference. Not only will it keep things tidy, but it will also make it easier for children to access the supplies they need, which helps promote creativity and independence. The following are some essential supplies for organizing kids’ crafts:
Storage Containers
Investing in quality storage containers can help keep your child’s crafting supplies organized and easily accessible. Plastic bins, drawers, and rolling carts with multiple compartments can all work well, depending on your space and your child’s needs.
Labeling Supplies
Labeling your storage containers is essential, especially if your child is old enough to recognize words. Clear, easy-to-read labels help your child find specific supplies and also promote literacy skills. Sticky labels, masking tape, or even chalkboard paint are all great options for labeling your containers.
Paper Organizer
A paper organizer is a great addition to any crafting space. It helps keep paper supplies organized and prevents them from getting crumpled or lost in the shuffle. Consider investing in a vertical paper stand or a file folder system to keep your child’s paper supplies organized.
Scissors and Cutters
Scissors and cutters are essential tools for any aspiring artist. Having a designated spot for them in your child’s crafting space ensures that they will always be within reach when needed. Consider purchasing child-safe scissors with blunt tips for younger children.
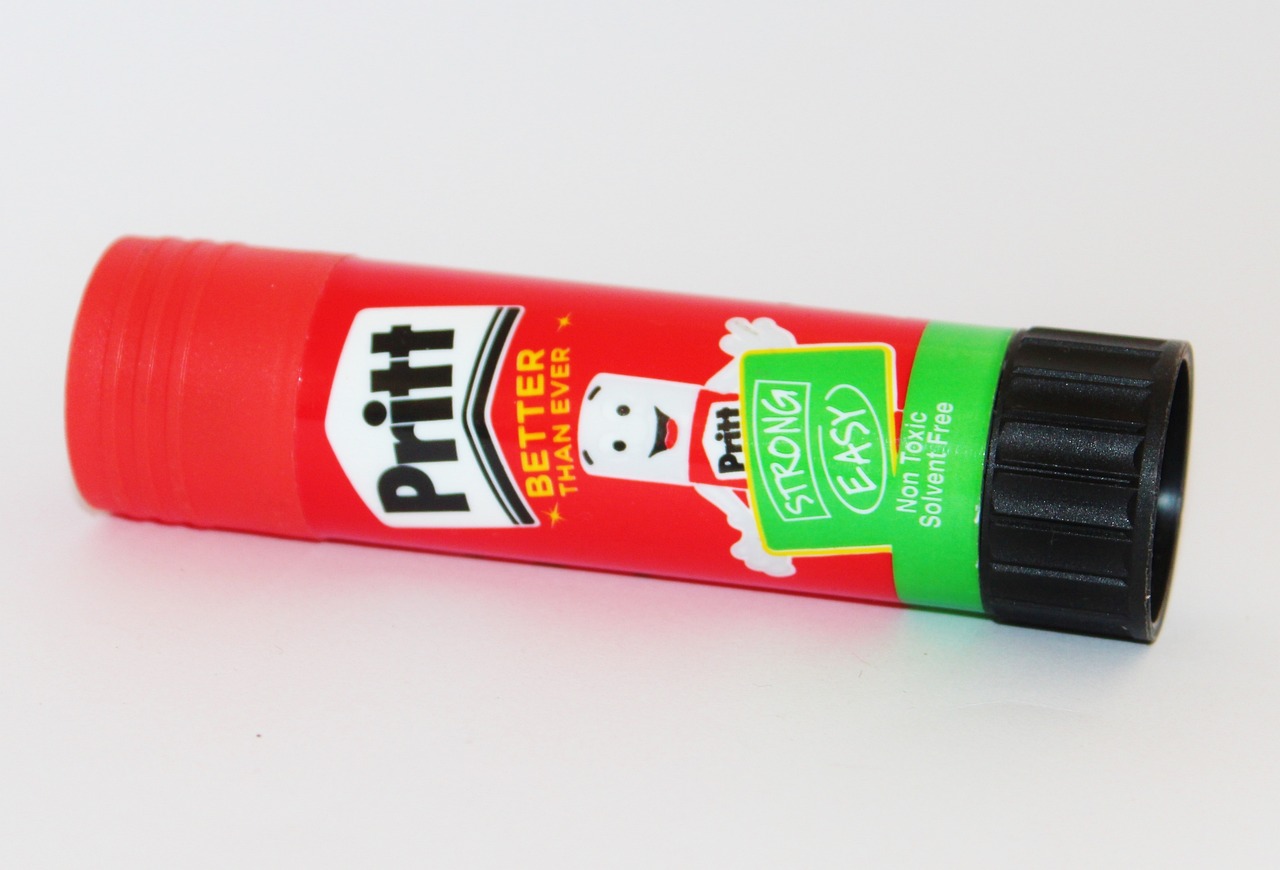
Glue and Tape
Nothing is more frustrating than searching for a lost roll of tape or a dried-up glue stick. Keep a backup supply of both tape and glue on hand, and store them in a designated spot in your child’s crafting area.
Overall, taking the time to organize your child’s crafting supplies can help promote creativity while reducing frustration and mess. With the right supplies on hand, your child can enjoy creating and exploring the world of art and crafts with ease.
How to Organize Kids Crafts
Creating an organized craft space for your kids is essential for a seamless crafting experience. An organized space not only improves productivity but also reduces clutter and stress. Here are a few tips on how you can organize your kid’s crafts and create a space that is functional and fun.
1. Sort and Categorize:
Begin by sorting out all your kids’ craft supplies. Categorize them into groups like paper, beads, paints, markers, glue, and stickers. This will help you determine what storage solutions you need and how much space you need.
2. Utilize Storage Containers:
Storage containers are a great way to store your kid’s craft supplies. Clear containers make it easy to see what’s inside, and you can even label them for easier identification. Consider using stackable containers to save space and reduce clutter.
3. Create a Craft Station:
Designate a specific area in your home as a craft station. Make sure this area has enough space for your kids to work and store their supplies. Consider using a kid-sized table and chairs with storage underneath.
4. Go Vertical:
Maximize your space by going vertical. Install shelves or pegboards on the wall to store your kid’s craft supplies. This not only saves space but also keeps everything organized and within reach.
5. Keep it Accessible:
Make sure your kid’s craft supplies are easily accessible. Store the most-used supplies like paper and pencils in a caddy on the craft table. This way, your kids can quickly grab what they need without having to search for it.
By following these simple tips, you can create an organized craft space for your kids that will make crafting easier, more efficient, and more fun. With a little bit of effort, you can transform a cluttered space into a functional and beautiful craft area.
Fun and Creative Storage Solutions for Kids Crafts
As a parent, organizing kids’ crafts can be a daunting task. Between the markers, glue sticks, glitter, and construction paper, it’s easy for the craft supplies to take over your entire home. But fear not, with a few fun and creative storage solutions, you can keep the clutter at bay and make craft time a breeze.
-
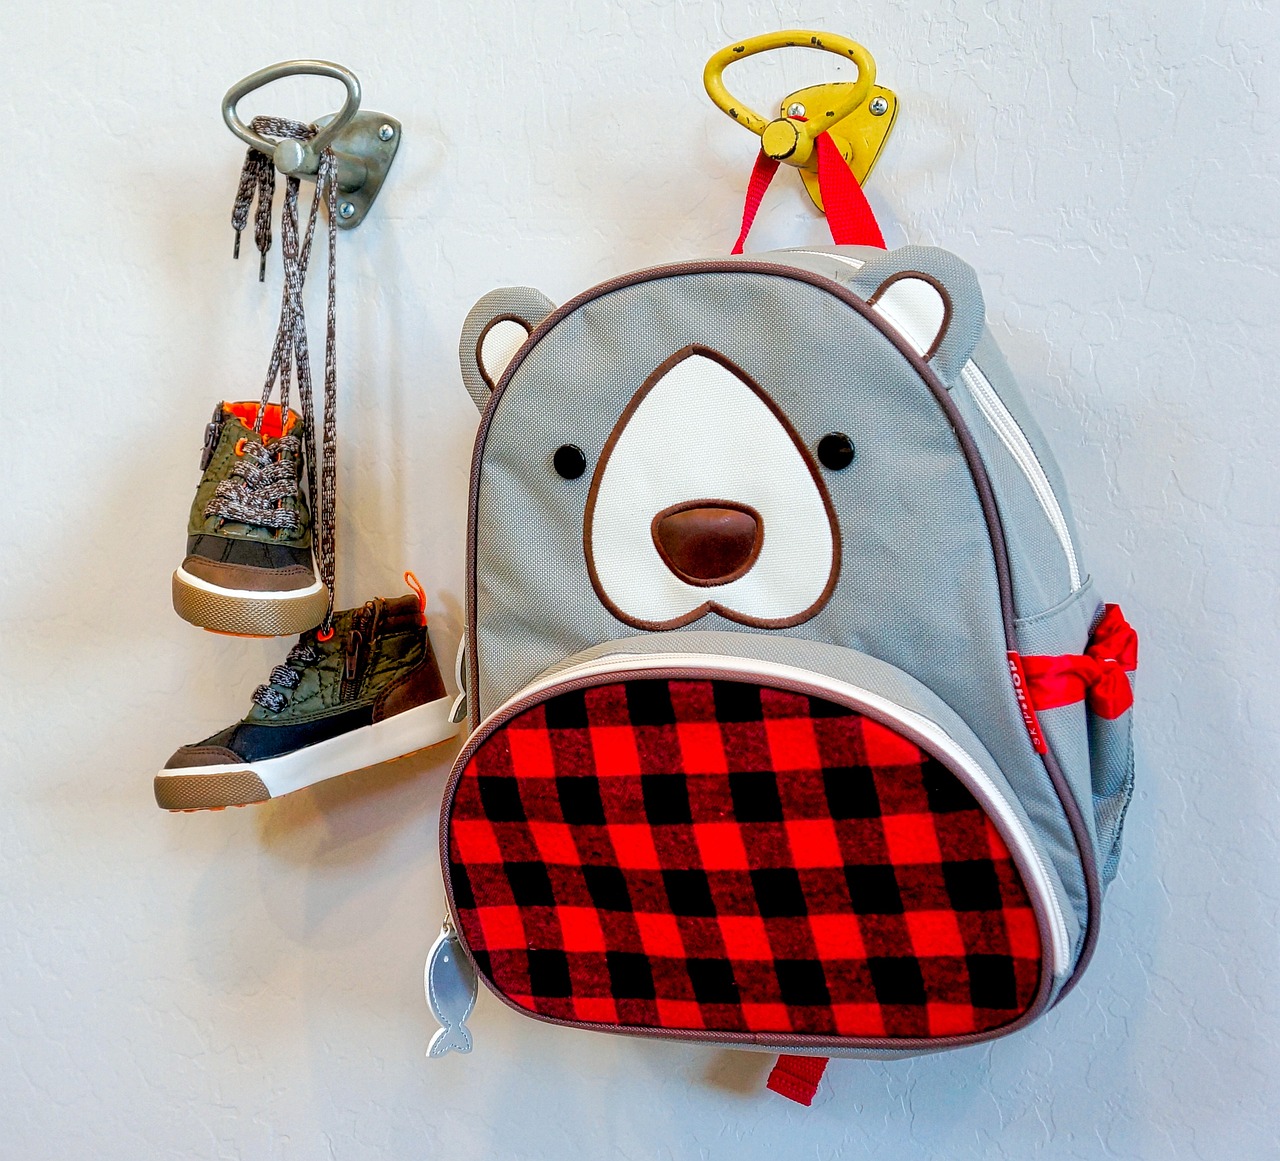
Wall-Mounted Organizers:
Installing wall-mounted organizers can be a great way to keep supplies off your work surface and within arm’s reach. Pegboards, metal grids, and corkboards are all popular options and can be customized to fit your needs. Add hooks, jars, and shelves to store supplies and create an organized and visually appealing wall display.
-
Clear Containers:
Clear containers are a must-have for any organized craft space. They allow you to see what’s inside each container without having to dig through a box of supplies. Transparent plastic bins, mason jars, and spice racks are all great options for storing small items such as buttons, beads, and sequins.
-
Mobile Carts:
Mobile carts are a perfect solution for those with limited space. They’re compact, easy to move around, and provide ample storage space. Utilize one with multiple drawers or shelves to store various crafting items such as fabrics, papers, and yarns.
-
Shoe Organizers:
Don’t throw away an old shoe organizer just yet. This item can be repurposed as storage for various supplies. Attach it to the back of a door, and it instantly creates an ideal spot to store extra paints, sprays, and brushes for easy access during crafting time.
-
Repurposed Furniture:
With a bit of creativity and some elbow grease, it’s possible to transform an old piece of furniture into a functional storage unit. Dressers, bookcases, and cabinets are all perfect for storing craft supplies. With a fresh coat of paint and a personalized touch, they can quickly become an essential part of any crafting space.
In conclusion, keeping an organized craft space is essential to ensure you and your little ones have easy access to supplies and can create fun projects without any hassle. With these fun and creative storage solutions, you’ll have your craft space organized in no time.